If you’re a gamer looking to get the most out of your Xbox experience, you might have wondered: Can I connect my Xbox to a computer monitor? Whether you’re trying to maximize your gaming setup, save space, or enjoy a better display, connecting your Xbox to a monitor is a viable and straightforward solution. In this guide, we’ll explore how to connect your Xbox to a computer monitor, discuss the benefits, and tackle some common challenges. Let’s dive into everything you need to know!
Why Connect an Xbox to a Computer Monitor?
Before we get into the technical details, it’s essential to understand why connecting your Xbox to a monitor can be a game-changer. There are a few notable reasons:
- Improved Display Quality: Many computer monitors have better resolution and refresh rates than standard TVs. If you want a sharper, smoother gaming experience, a high-quality monitor can be an upgrade.
- Space-Saving: If you’re limited on space, using a monitor might be a more compact solution than a bulky TV.
- Faster Response Times: Computer monitors often have lower input lag compared to TVs, which can be crucial for fast-paced games.
What You’ll Need to Connect Your Xbox to a Monitor
Before setting up, gather these essential items:
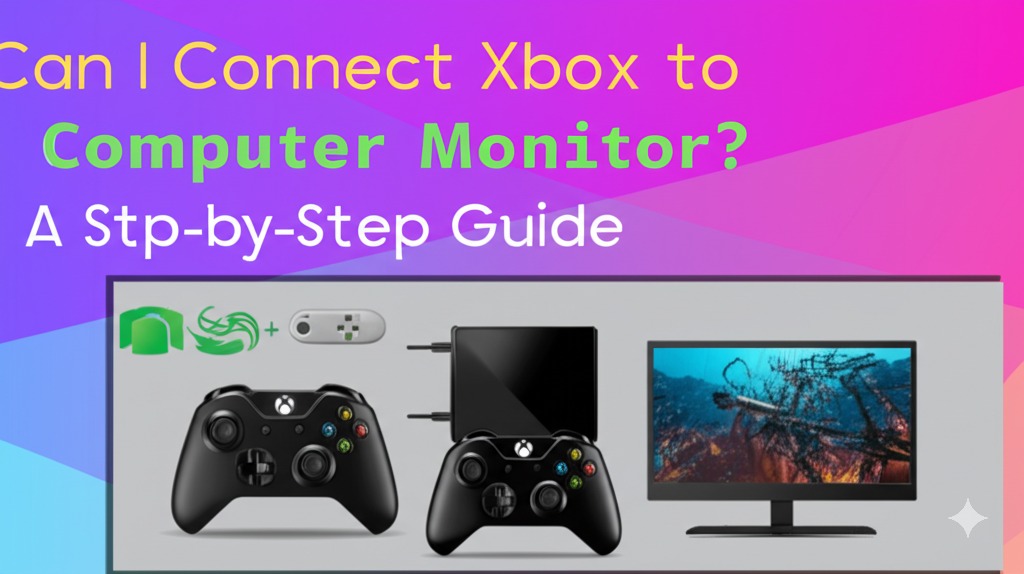
- Xbox Console: Whether it’s an Xbox One, Xbox Series S, or Xbox Series X, the connection process is largely the same.
- A Compatible Monitor: Ensure your monitor has the right ports for the connection (HDMI, DisplayPort, etc.). Most modern monitors support HDMI.
- HDMI Cable: The primary cable for video and audio transmission from the Xbox to the monitor.
- Audio Solution: Since monitors often lack built-in speakers or have subpar sound quality, you’ll need an external speaker system or a headset.
How to Connect Xbox to a Computer Monitor (Step-by-Step)
Here’s a simple step-by-step guide to connecting your Xbox to a monitor:
Step 1: Check the Monitor’s Ports
Most modern monitors come with an HDMI input, which is compatible with Xbox consoles. If your monitor only has DisplayPort or VGA, you will need an adapter to convert HDMI to the appropriate format.
Step 2: Plug the HDMI Cable Into the Xbox
Take the HDMI cable that came with your Xbox or another compatible cable, and plug one end into the HDMI port on the Xbox console.
Step 3: Connect the HDMI Cable to the Monitor
Now, plug the other end of the HDMI cable into the HDMI port on your monitor. If your monitor only supports DisplayPort or VGA, use an HDMI to DisplayPort or HDMI to VGA adapter.
Step 4: Power On the Devices
Turn on your Xbox and the monitor. The Xbox should automatically detect the monitor, and you should see the Xbox home screen appear on the display.
Step 5: Adjust Monitor Settings (If Necessary)
Some monitors require you to switch input modes manually. Use the monitor’s on-screen display (OSD) to select the correct HDMI port if it doesn’t automatically switch to it. You may also want to adjust the resolution settings to match the monitor’s capabilities.
Step 6: Set Up Audio
Since many monitors lack built-in speakers, you’ll need an alternative audio solution. You can:
- Use an external speaker system connected to the Xbox’s audio out.
- Connect a gaming headset to the Xbox via the controller for personal audio.
Troubleshooting Common Issues
While the process is relatively simple, you might run into a few issues along the way. Here are some common problems and how to fix them:
No Signal on the Monitor
- Solution: Double-check the HDMI connection on both the Xbox and the monitor. Make sure you’re using the correct input on the monitor.
- Solution: Restart both the Xbox and monitor, ensuring that both devices are powered on.
Poor Picture Quality
- Solution: Make sure your Xbox is set to the correct display resolution. Go to Settings > Display & Sound > Video Output on your Xbox to adjust the resolution settings based on the monitor’s capabilities.
No Sound
- Solution: If you’re not getting sound from your monitor, consider connecting external speakers or using a headset.
- Solution: Ensure your Xbox audio settings are configured properly. You can change audio output settings under Display & Sound > Audio Output on the Xbox.
Advantages and Disadvantages of Using a Computer Monitor with an Xbox
While connecting an Xbox to a monitor is generally beneficial, it’s essential to weigh the pros and cons.
Advantages
- Higher Refresh Rates and Resolution: Many monitors offer better resolutions and higher refresh rates than most TVs, providing smoother and more detailed gameplay.
- Compact Setup: Monitors are typically smaller than TVs, which is great for limited spaces or if you prefer a minimalist setup.
- Faster Response Times: Monitors often have lower input lag, crucial for competitive gaming where every millisecond counts.
Disadvantages
- Lack of Built-in Speakers: Many monitors don’t have quality speakers, so you’ll need to invest in external audio equipment.
- No TV Features: Monitors lack TV features such as built-in tuners or cable connections, which might be important if you plan to use the device for more than just gaming.
Conclusion: Is Connecting an Xbox to a Monitor Worth It?
In conclusion, connecting your Xbox to a computer monitor can offer several advantages, such as enhanced graphics, better response times, and a more compact setup. If you’re looking for a smooth, immersive gaming experience and have the right equipment, this is a fantastic option to consider.
If you haven’t yet set up your Xbox with a monitor, now is a great time to give it a try. With the steps above and a few troubleshooting tips, you’ll be ready to enjoy your games in no time. Ready to take your gaming experience to the next level? Start connecting your Xbox to your monitor today!

Caleb Carlson is a contributing writer at Computer Site Engineering, specializing in computer technology, software trends, and hardware innovations. His articles simplify complex tech topics, making them accessible to readers of all levels.